
Preparing your Sun Prairie home for interior house painting, is crucial for ensuring a smooth and successful project. Whether you are hiring house painters in your area or taking on the job yourself, following these detailed steps will help you achieve a professional finish.
1. Plan Your Color Scheme
- Choose Colors Wisely: Start by considering how the colors you select will complement your existing decor and furniture. Use color swatches to help visualize your options. It’s essential to think about how different shades may impact the mood of the room. For instance, lighter colors can make a space feel larger and brighter, while darker shades can create a cozy and intimate atmosphere.
- Test Samples on Walls: Purchase sample pots of your chosen colors and paint small patches on your walls. Observe these samples at different times of the day to see how natural light affects their appearance. This trial-and-error approach ensures you select colors that harmonize with the room’s lighting and purpose.
2. Assess Lighting and Room Functionality
- Evaluate Natural Light: Take note of how much natural light each room receives. North-facing rooms often benefit from warmer, more inviting colors, while south-facing rooms can handle cooler, more vibrant hues. The way light interacts with colors throughout the day can significantly affect the overall ambiance, so consider the room’s orientation when choosing paint.
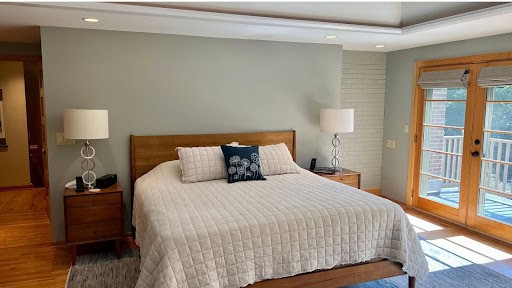
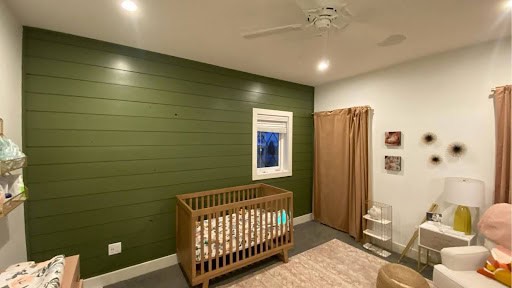
- Consider Room Use: Think about how each room will be used. For example, soft, calming colors work well in bedrooms to promote relaxation, while bold, bright colors can energize a playroom or home office. Understanding the room’s function will guide your color choices and create a space that aligns with your lifestyle.
3. Gather Necessary Tools and Equipment
- Invest in Quality Tools: High-quality painting tools can significantly impact the outcome of your project. Consider purchasing premium brushes, rollers, and trays to ensure smooth application and even coverage. Investing in a paint sprayer can also save time and provide a more uniform finish, especially in larger rooms.
- Additional Tools: In addition to the basic supplies, consider using a paint edger for achieving clean lines around the edges without needing tape. A roller extension pole can make painting high ceilings more manageable, reducing the strain on your back and arms.
4. Prepare the Walls with Advanced Techniques
- Use a Degreaser: In areas like kitchens or bathrooms where grease and moisture accumulate, cleaning the walls with a degreaser will ensure that your new paint adheres properly. This step is essential for achieving a durable finish that can withstand the rigors of daily use.
- Repair with Mesh Tape: For any larger cracks or holes, use mesh tape to reinforce the area before applying spackle or joint compound. This method creates a stronger repair that is less likely to crack again, ensuring a smooth and stable surface for your new paint.
5. Consider Environmental Factors
- Check Humidity Levels: Aim to paint on a day with low humidity to avoid issues with drying times and paint adhesion. High humidity can slow the drying process and may lead to peeling or bubbling paint, so planning your painting day according to the weather forecast is wise.
- Monitor Temperature: The ideal temperature for painting is between 50°F and 85°F. Extreme temperatures can affect the paint’s ability to adhere and dry properly. Ensure that your home is within this temperature range to achieve the best results.
6. Create a Dedicated Work Space
- Designate a Mixing Area: Set up a specific area for mixing paint and organizing your tools. This area should be well-ventilated and away from any furniture or decorative items you don’t want to risk getting paint on. A clean, organized workspace will enhance your efficiency and minimize stress during the painting process.
- Have a Cleanup Station: Prepare a nearby area with cleaning supplies, such as paint thinner or soap and water, for quick clean-ups during the project. Having these supplies on hand will make it easier to manage any spills or drips as they happen, ensuring a cleaner working environment.
7. Protect HVAC and Ventilation Systems
- Turn Off HVAC Systems: Temporarily turn off heating or cooling systems before you start painting to prevent dust and paint particles from circulating throughout your home. This step will keep your air quality higher and reduce the risk of inhaling paint fumes.
- Seal Air Vents: Use plastic covers or painter’s tape to seal off vents and prevent paint from entering the HVAC system. This precaution protects your system and prevents costly cleanup later.
8. Remove or Secure Items in Adjacent Rooms
- Protect Nearby Spaces: If the room you are painting is connected to other spaces, close doors or hang plastic sheeting to prevent dust and paint from traveling into adjacent areas. This will help keep your entire home cleaner and minimize the risk of accidental paint splatters on furniture or flooring in other rooms.
- Move Rugs and Carpets: Take out any rugs or carpets from the painting area, as they can be difficult to clean if paint gets on them. If removal isn’t feasible, make sure they are covered with drop cloths to protect them from spills and splatters.
9. Final Walkthrough and Checklist
- Conduct a Pre-Painting Inspection: Before you begin painting, do a thorough inspection of the walls and surfaces. Look for any last-minute repairs that need attention, such as touch-ups on spackled areas or additional cleaning. This final check ensures that you’ve covered all bases before applying paint.
- Organize a Painting Schedule: Create a detailed timeline for your painting project, breaking it down into manageable sections (e.g., day one for prep work, day two for cutting in and rolling paint). Having a clear schedule helps you stay organized and focused throughout the process.
10. Begin with Primer (If Applicable)
- Use Primer Strategically: Applying primer is especially important in areas with stains, and uneven textures, or when transitioning from dark to light colors. A good primer helps to seal the surface, improves paint adhesion, and ensures that the final color appears vibrant and even.
Conclusion
By meticulously following these steps to prepare your home for interior house painting in Sun Prairie, WI, you’ll set the stage for a successful project, whether you decide to DIY or hire local house painters in Sun Prairie, WI. Proper preparation not only enhances the outcome but also makes the entire process smoother and more enjoyable. With a well-prepared environment, you can look forward to a beautifully transformed space that reflects your style and enhances the comfort of your home!